- Part 1: Containerize your Application Environment
- Part 2: Creating a Developer Image
- Part 3: Hot Module Reloading and Live Editing in Containers
- Part 4: Composing Multi-container Networks with Docker Compose (this post)
- Part 5: Sharing Images with Your Team Using Docker Hub
- Bonus: Debug Docker Containers with WebStorm
We’re on fire! If you’ve stayed with us through the first 3 parts of this Docker tutorial, you’ve got a good overall understanding of Docker, been able to establish a base production grade image and forged a containerized development environment of your application that can be edited live. But a real world application is never alone. Generally, there is a number of moving parts such as databases, cache services, proxy servers just to name a few. We’ll see how Docker Compose can help us juggle a multi-container environment.
Until now, we have mainly only used the main docker command (and docker-machine for you Docker-Toolbox users). But, in this part of the tutorial, I’m going to introduce you to a new tool, possibly even more powerful than what have seen so far.
Docker-compose is tool that will allow you to juggle multiple containers, environments, networks and more just as we did with  the single Docker command tool. I think their logo says a lot in explaining what can be done.
Docker Compose
Docker Compose is different, but not a complete stray from what we have been doing so far. Just as we did with a single Dockerfile, using a YAML formatted file labeled “docker-compose.yml”, we can define information about an image that we want to build and run. Instead of a single image/container, Docker Compose allows us to define multiple images to build and containers to run which it refers to each as a service.
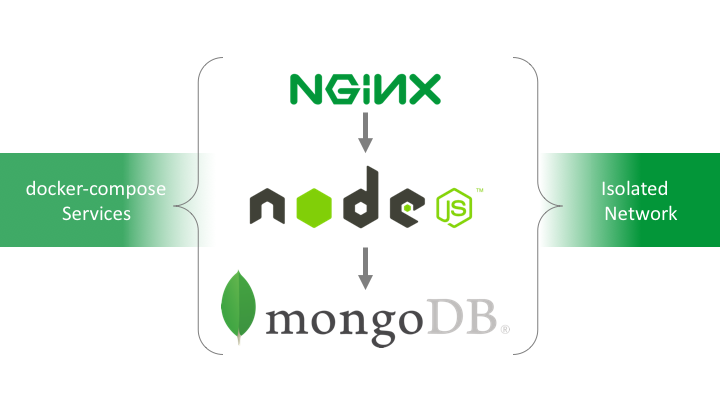
Instead of spelling out all the details of Docker Compose, lets reveal its capabilities as we go through the steps to setup our development application environment, this time including a MongoDB database, and a reverse proxy with Nginx, all within an isolated network.
Getting Started
I have made very minor adjustments to our application we started using in the last tutorial. This time, it will pull the information from a MongoDB database as well as seed the database on initial start. So as before, you can grab this slightly altered source code from Github.
Step 1: Generating a Compose File
Until now, we have been running the Docker Build and Run commands along with a number of various tags to build images and generate running containers. With docker-compose we can do all that in the default “docker-compose.yml” file along with a number of other powerful features.
The “docker-compose.yml” file allows us to specify N number of images and containers we want to create and run that Docker Compose sees as services. So we’re going to generate a “docker-compose.yml” that doesn’t only generate an application image and container but also a separate MongoDB and Nginx container.
Step 1a: docker-compose.yml
- Create a file in the root of application with the name of “docker-compose.yml”.
- Add the following contents to the file:
version: "2.1"

services:
  nginx:
    container_name: hackershall-dev-nginx
    image: nginx-dev-i
    build:
      context: .
      dockerfile: ./.docker/nginx.dev.dockerfile
    networks:
      - hackershall-network
    links:
      - node:node
    ports:
      - "80:80"

  node:
    container_name: hackershall-dev-app
    image: hackershall-dev-i
    build:
      context: .
      dockerfile: ./.docker/node.dev.dockerfile
    ports:
      - "7000"
    networks:
      - hackershall-network
    volumes:
      - .:/var/app
    env_file:
      - ./.docker/env/app.dev.env
    working_dir: /var/app

  mongo:
    container_name: hackershall-dev-mongodb
    image: mongo:3.4.1
    build:
      context: .
      dockerfile: ./.docker/mongo.dev.dockerfile
    env_file:
      - ./.docker/env/mongo.dev.env
    networks:
      - hackershall-network
    ports:
      - "27017"

networks:
  hackershall-network:
    driver: bridge
What did we do?
- A declared “version” of 2.1 the docker-compose.yml file. The legacy version of docker-compose.yml is version 1.
- Along with a “services” section that has the details of each image and container we want to build.
- Finally, a “networks” section that allows us to specify an isolated network that running containers generated by the services can join.
Before moving on, there are quite a lot going on in the “docker-compose.yml” worth taking a moment to cover.
Step 1b: Networks
Docker Compose allows us to specify complex custom network topologies if we wanted to. But in our case we can simply give our network a name which we’ll use to reference each service, along with type of network defined by the “driver”.
For hosting a number of containers on a single host, we can define our network driver to use bridge. The network drive can also support clusters or existing networks.
Step 1c: Services
We defined a section labeled “services” followed by individual named services such as nginx, node, mongo. Each of these contain the details such as:
- The context and dockerfile to use when building the image
- and resulting image name to be generated.
- Along with the container-name to be used when running an instance of the above image that created.
- ports, volumes, working_dir which are analogous to the Docker run counterpart we have used in the previous tutorials.
- In addition, the networks the service should be part of. Which in our case we have specified the same network we defined under networks.
Step 2: Build Images
We just about ready to learn our first docker-compose command. But before we do, lets take quick detour and re-prepare our original production image we created in the last tutorial.
Step 2a: Rebuild Production Image
Run the following quick commands from a terminal/prompt:
- docker rm hackershall-prod-app
- docker mi hackershall-prod-i
- From the project root directory:docker build -t hackershall-prod-i -f ./.docker/node.prod.dockerfile .
Step 2b: Docker Compose Build
When it comes to building images with docker-compose we still define dockerfile files. We have organized all the supporting files for the various services in the docker-compose.yml file such as each service’s dockerfile and something you haven’t seen before, environment files as denoted by the env_file. Those supporting files reside in the root directory .docker.
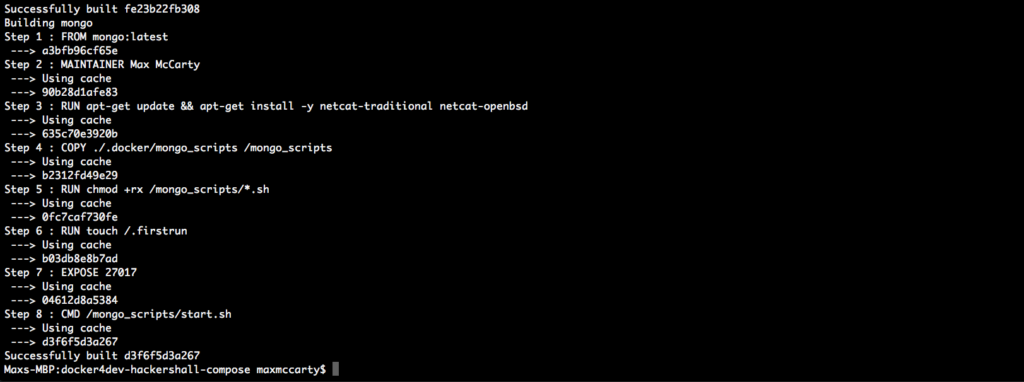
We’re now ready to use our first docker-compose command build
What did we do?
In that single command of BUILD docker-compose:
- pulled any dependent images
- and built specified images in the docker-compose.yml file.
Step 3: Bringing It All Online
Now that we have built all the relevant images with that single command, we are ready for really seeing the power of Docker Compose. Let’s ask Compose to generate and run all the relevant containers specified in the docker-compose.yml:
- Run the command:
docker-compose up
……and the following effect occurs
Ok, maybe it looked more like the follow, but it still had the same effect:
What did we do?
- Create the specified network.
- Generated the nginx, node and mongo specified containers
- Mongo scripts were ran, admin and various operation accounts created.
- Nginx, mongodb and Node service was brought online.
Scripts, Environment and Config Files
Environment Files
With the exception of the docker-compose.yml file, all the supporting files live within the .docker directory. Starting with .envenvironment files. You’ll see for the “mongo” service in the docker-compose.yml file we provide an env_file property along with the location where it can be found.
….
mongo:
  container_name: hackershall-dev-mongodb
  image: mongo:3.4.1
  build:
    context: .
    dockerfile: ./.docker/mongo.dev.dockerfile
  env_file:
    - ./.docker/env/mongo.dev.env
Scripts
Configuration Files
Step 4: Test Node Application
- Start up your browser
- Browser to http://localhost
Since we are running nginx and mapping port 80 to port 7000 in the docker-compose.yml service labeled “node” - Verify the application is running:
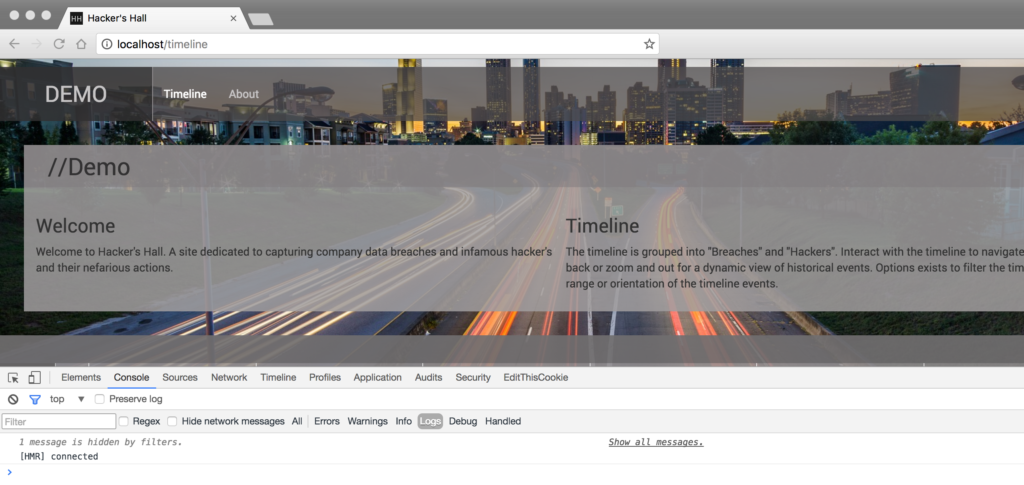 Changes to Shared components such as we did in the last tutorial, will show we can see live edits updated on the running application.
Step 5: Docker Compose Start, Stop or Down and Remove
Step 5a: Stopping
- We can opt to leave everything intact and simply stop all the running containers. This is analogous to the Docker run command we have seen before.
docker-compose stop
Step 5b: Down
- If we don’t want to leave containers around we can opt to have them removed instead:
docker-compose down
Step 5c: Start
- Assuming, the docker-compose generated containers were stopped and not removed, we can easily start them back up with the start command:
docker-compose start
Conclusion

